3D Printing
8 February 2013
While I was teaching I was introduced to the idea of 3D printing by Vik Oliver and the RepRap project and my attention was well and truly grabbed. I left that teaching position before I had the chance to fully develop course ideas around final production of physical objects rather than endlessly producing digital solutions, although the projects were structured to allow for this.
Recently I was really taken by Makerbot’s Replicator2 and decided to purchase one. There was no real plan behind this other than a desire to give it a go and see what happened. This is a brief overview of my introduction to 3D printing.
The Printer
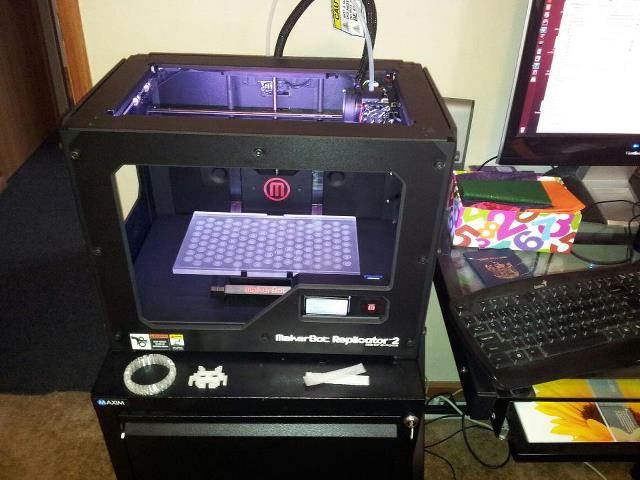
 The Replicator2 has a single head for extruding filament, uses PLA plastic, came made up and ready to go and is black with coloured LEDs. I have to admit that last feature was the one that sold me on it. It has been made relatively simple for Designers to get into producing objects which was an important point. We are not overly excited about the actual printer but rather how we can use it to design things.
To date it has proven reliable, fast (considering what it is doing), and relatively quiet. It sits next to my computer and hums, bleeps and wibbles away to itself while printing.
We have been ordering spools of PLA from Diamond Age and have started to experiment with different colours, changing filament mid print and generally getting a feel for the process. Considering the printing process is essentially melting plastic I have been surprised at how little odour comes out of the printer.
Tools
My previous experience with 3D modelling has been in tools like 3D Studio Max and, more recently, Blender so I turned to Blender for my first go at creating objects to print. After a few abortive attempts to create a case for a Raspberry PI I realised a mesh modeller was not going to be very helpful and while Blender is excellent for producing great looking animation and objects it has some issues with creating the solid [manifold] objects and applying boolean operations (cutting holes, joining objects etc) required for 3D printing.
I picked up an open source tool called OpenSCAD which scared me silly when I first looked at it but was highly recommended by people posting on Thingiverse (Makerbot’s community). Essentially OpenSCAD allows you to write script that is then compiled into 3D objects and it takes a bit for someone used to interactive modelling tools to get used to. It does, however come with a great community, a lot of tutorials and documentation and a lot of easy wins for the beginner. The .scad format can be opened in a text editor and is actually fairly straightforward once the basic syntax is under control.
For teachers, this is essentially a way of scripting a physical object and can use variables, modules and a raft of other programming techniques, making it a reasonable alternative to introduce students to some programming fundamentals.
Experiments
 The first thing we realised was that filament costs money and that it is a resource that can be wasted very quickly. Subsequently our experiments tend to be small and very focused.
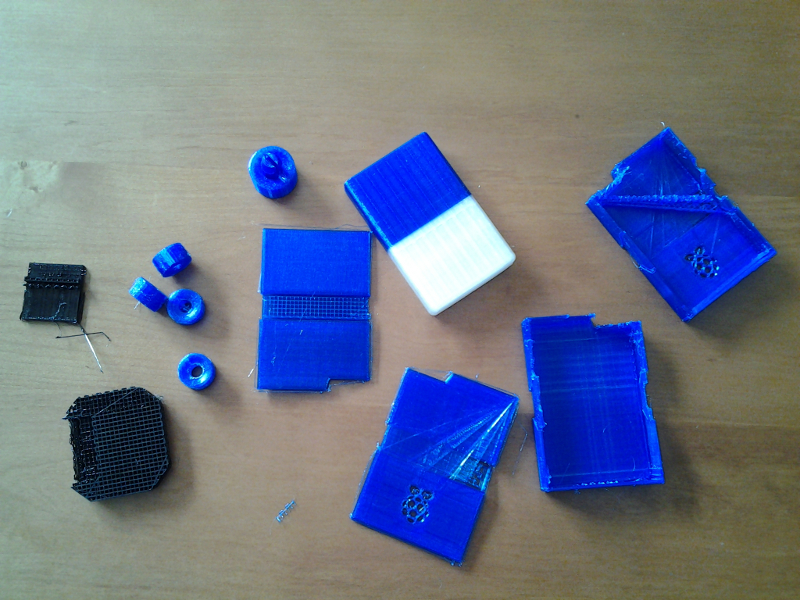
When testing printer quality I relied on popular models from Thingiverse to reduce the risk of producing something a bit rough. When that was complete I modelled some simple objects that tested things like: the distance the printer could span over empty space, how thin a wall could be before it lost strength, how flexible or rigid the plastic was at different sizes and thicknesses. The results were a bit surprising in all cases.
Learning about rafts (a base for the object to sit on while being printed) and supports (lightweight bracing to hold any element that would otherwise collapse) was a challenge and a fair bit of filament was lost creating unnecessary supports. Dimensions proved complicated in Blender as aligning Blender units with millimeters proved too much for our brains. OpenSCAD units seem to match much more accurately with 1 unit = 1 mm.
Changing Filament
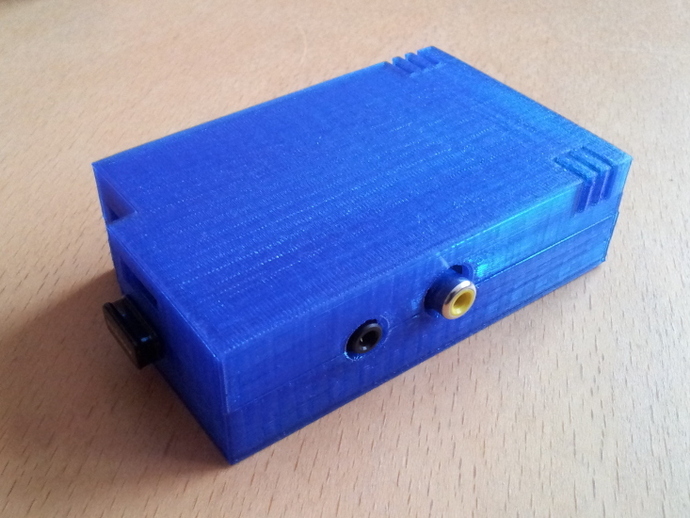
We have done this once so far. When the original spool of clear PLA ran out I swapped to a roll of sapphire (a great transparent blue colour). The process of transferring it to a spool resulted in a massive tangle that just about ended a relationship so future attempts will be handled a lot more carefully.
The Makerbot Replicator2 has a built in script for pausing mid print to change filament which has proven to be an excellent feature. The transition of colour is seamless (unless you tangle the filament) and looks tidy. Our next development in this area is to produce our own spools and a way of storing them so they can be brought into play quickly during a print job.
Update: the best solution I have found so far for winding a roll of filament on to a spool is to put the spool on the ground in the middle of the filament roll, find the inner end and attach it to the spool (there is usually a small hole for tucking it into), and slowly start turning the spool so the filament tightens on to it. It takes about 10 minutes for a 100m roll.
Final Products
 We have started putting up our successful models at: http://www.thingiverse.com/Lightshow74/designs
The interesting and expected outcome of our 3D printing is that we have started solving our own problems in the real world. We have printed cookie cutters for the biscuits for a 1 year old’s birthday party, created cable holders and clips for a range of household uses, and created toys for the amusement of small children (and ourselves in most cases). The balance between ‘can we produce it’ and ‘should we produce it’ has become a fine line but an exciting one.